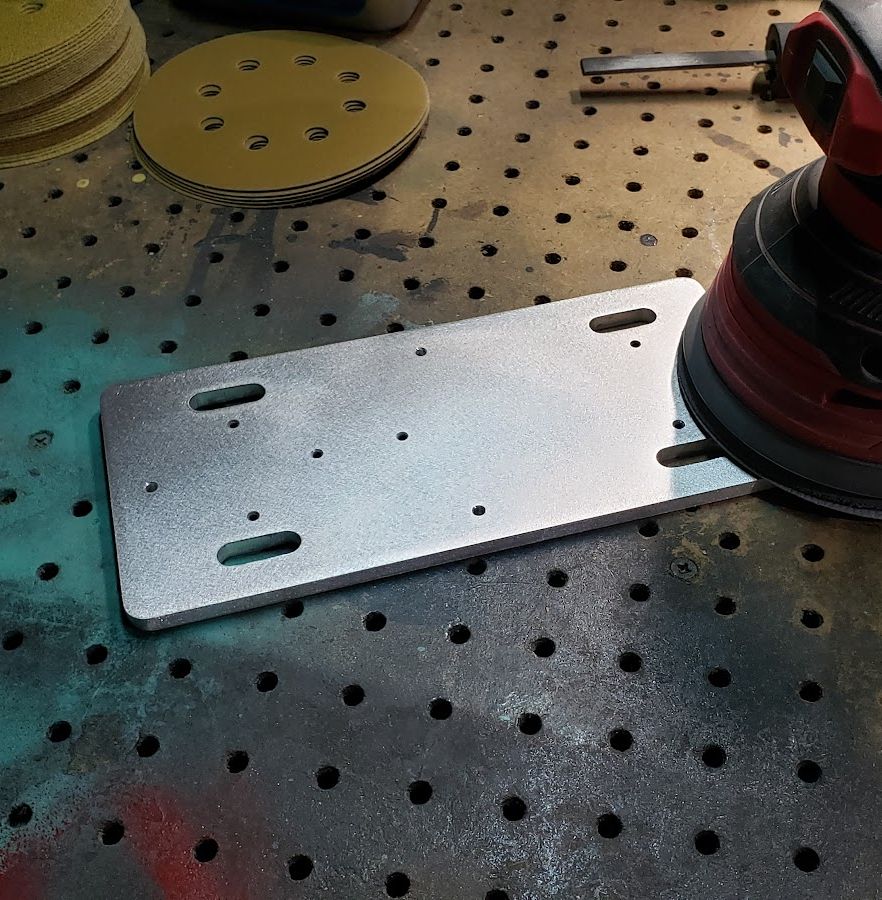
2. Component Preparation
This section identifies the finishing techniques required for preparing laser-cut parts for the T.R.A.P. system. To help manage costs, T.R.A.P. system components are available in two options:
- Ecomoney: This option offers a cost-effective solution but requires some finishing work on certain laser-cut parts.
- Premium: This option provides pre-finished parts, eliminating the need for the finishing work described in sections 3.1 to 3.3. If you have chosen the Premium option, you can proceed directly to section 3.4 for painting instructions.
If you have chosen the Ecomoney option, this section will outline the finishing techniques you'll need to apply to ensure proper fit, function, and safety of your T.R.A.P. system components.
Safety Precautions
- Eye Protection: Always wear safety glasses when filing, drilling, sanding, or painting to protect your eyes from debris and chemicals.
- Gloves: Wear gloves to protect your hands from sharp edges, chemicals, and paint.
- Ventilation: Work in a well-ventilated area when using paints or solvents to avoid inhaling harmful fumes.
Additional Tips
- Practice on scrap material before working on actual T.R.A.P. components.
- Take your time and work carefully to avoid damaging parts.
- Consult the material safety data sheet (MSDS) for any chemicals or paints you use.
2.1 Filing
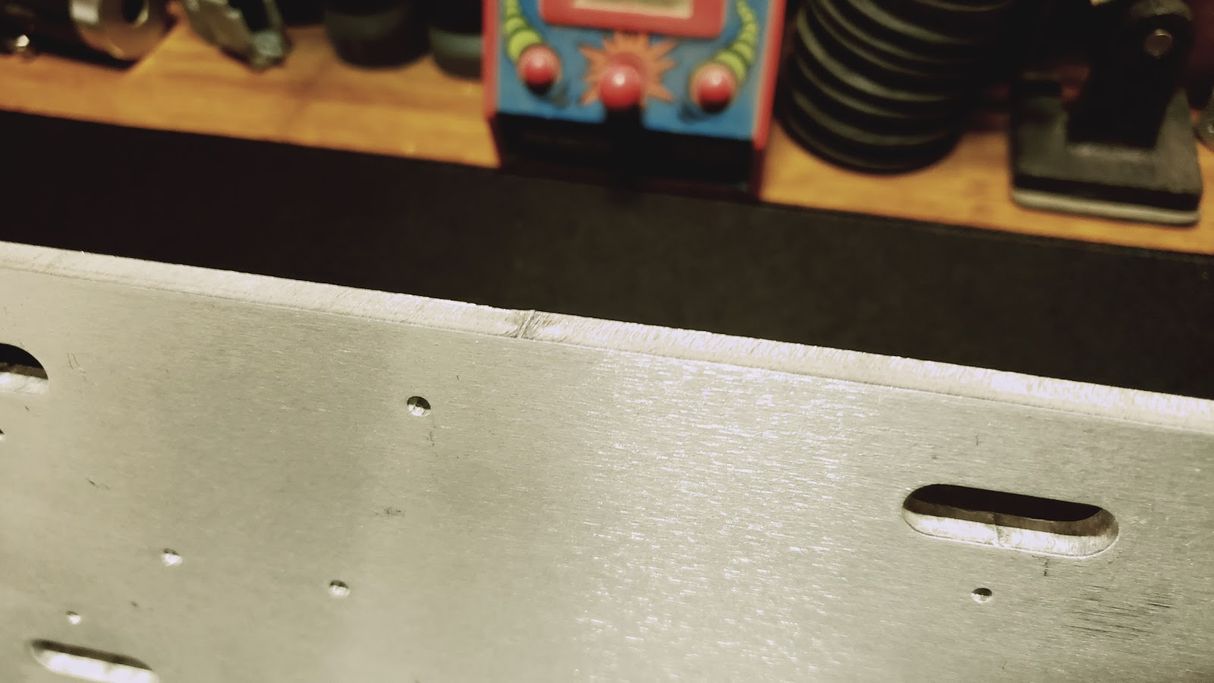

Purpose:
- Smooth rough edges
- Remove burrs
Tools:
- Files: Select the appropriate file type (flat, round, half-round, etc.) and coarseness (bastard, second-cut, smooth) based on the material and desired finish.
- File Handle: Use a secure file handle for better control and safety.
Technique:
- Secure the work piece in a vise or clamp.
- Apply even pressure and push the file across the work piece in one direction.
- Avoid excessive pressure, which can damage the part or create uneven surfaces.
- Use a finer file for finishing touches and to achieve a smoother surface.
2.2 Drilling, Tapping, and Countersinking
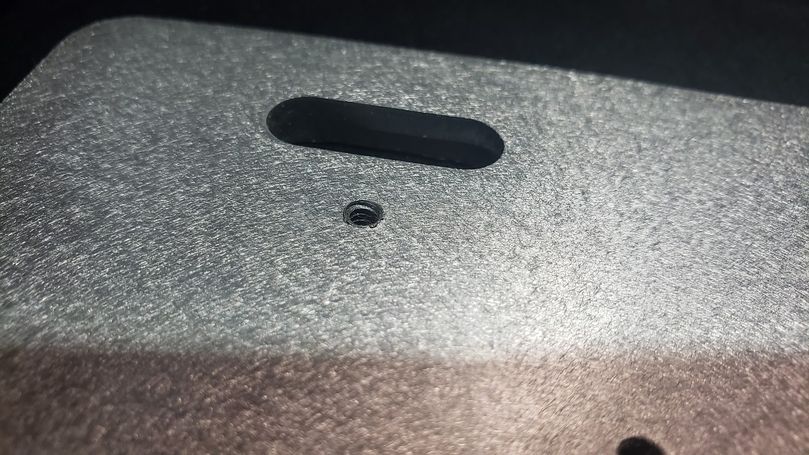
Purpose:
- Drilling creates holes for fasteners or other components.
- Tapping creates threads in those holes to accept screws or bolts.
- Countersinking creates a conical recess around the top of a drilled hole to accommodate the head of a countersink screw, allowing it to sit flush with the surface.
Tools:
- Drill: Use a drill with the appropriate size drill bit for the desired hole diameter.
- Tap: Select a tap that matches the size and thread pitch of the fastener.
- Tap Handle: Use a tap handle for better control and to prevent damage to the tap.
- Countersink Drill Bit: Choose a countersink drill bit that matches the angle and size of the screw head.
- Cutting Fluid: Apply cutting fluid to the drill bit and tap to reduce friction and heat buildup.
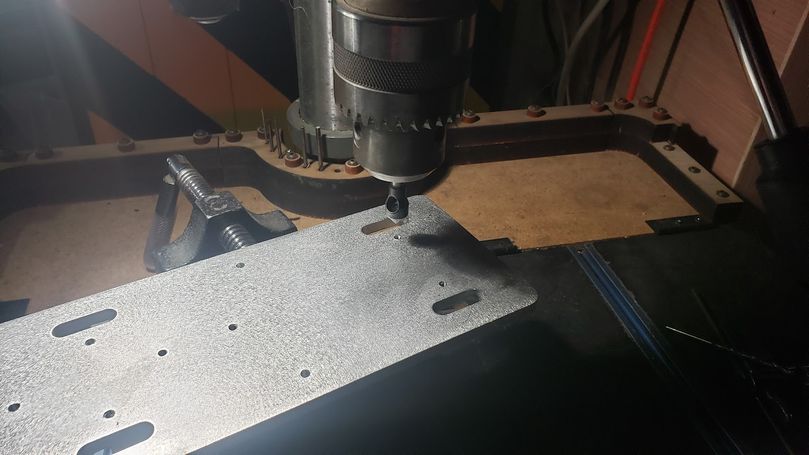
Technique:
- Drilling and Tapping:
- Secure the workpiece in a vise or clamp.
- Drill a pilot hole slightly smaller than the tap diameter.
- Use the tap to create threads in the hole, applying even pressure and turning the tap handle clockwise.
- Back the tap out periodically to clear chips and prevent damage.
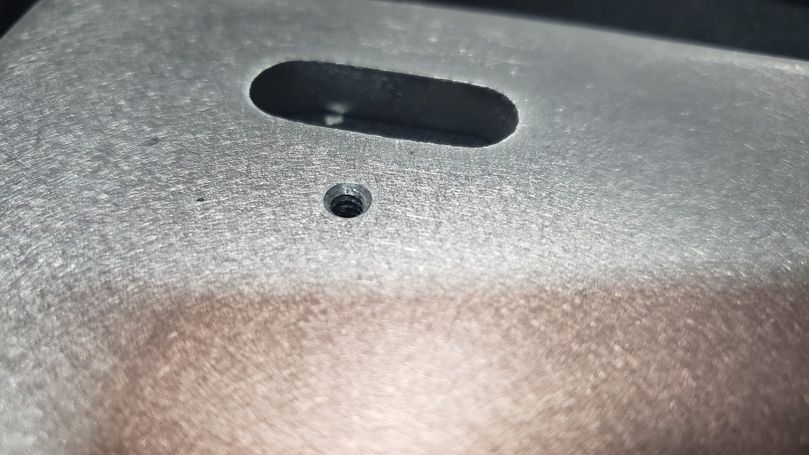
- Countersinking:
- Secure the workpiece.
- Use the countersink drill bit to create a conical recess around the top of the drilled hole.
- Ensure the depth of the countersink is sufficient to allow the screw head to sit flush with the surface.
Note: Using a drill press for drilling and countersinking can help ensure that holes are straight and perpendicular to the surface.
Tip: You can also use the countersink bit to carefully clean up any burrs or rough edges around the hole after tapping.
2.3 Sanding
Purpose:
- Sanding smooths and refines surfaces
- Removes scratches
- Prepares parts for painting or coating.
Tools:
- Sandpaper: Choose the appropriate grit (coarseness) of sandpaper based on the material and desired finish. Start with a coarser grit and gradually move to finer grits.
- Sanding Block: Use a sanding block for even pressure and to avoid creating uneven surfaces.
Technique:
- Secure the work piece in a vise or clamp.
- Sand in the direction of the grain (if applicable) using even strokes.
- Gradually move to finer grits of sandpaper until the desired smoothness is achieved.
- Wipe away dust with a clean cloth between grits.
2.4 Painting

Purpose:
- Painting protects parts from corrosion and wear
- improves their appearance
Tools:
- Paint: Select a paint that is compatible with the material and intended use of the part.
- Primer: Use a primer to improve paint adhesion and durability.
- Paintbrushes or Spray Gun: Choose the appropriate application method based on the size and shape of the part and the desired finish.
- Masking Tape: Use masking tape to protect areas that should not be painted.
Technique:
- Clean and prepare the surface by removing any dirt, grease, or rust.
- Apply a primer (if necessary) and allow it to dry completely.
- Apply the paint in thin, even coats, allowing each coat to dry before applying the next.
- Use masking tape to create clean lines and edges.
- Follow the paint manufacturer's instructions for drying times and safety precautions.
2.5 Hole Specifications and Diagrams
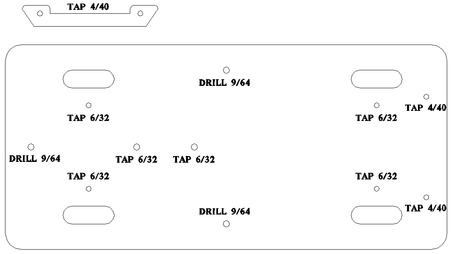
This section provides detailed diagrams and specifications for the holes required in various T.R.A.P. system components. Refer to these diagrams and tables to ensure accurate drilling, tapping, and countersinking of holes during the assembly process. Precise hole preparation is crucial for proper fit, function, and structural integrity of the T.R.A.P. system.